Today, I learned how to use a miter box.
Actually. Wait. First, I learned what a miter box is.
Then, I learned how to hack using a miter box.
Because, as it turns out, using a miter box for the balsa wood strips for the dollhouse floors are kind of a pain in the butt. I will use them, but the next dollhouse will get basswood floors. Or, something else, but probably not balsa wood.
That said, once I got the hang of how to use a miter box, I decided it’s a truly fantastic invention. But, the road to fantastic was a bumpy one at best.
Asking for Advice
As you may remember, I had zero luck cutting the balsa wood strips. I asked Instagram for advice. And I got some great answers.
The first bit of advice is that I should switch to basswood strips. They are supposed to be easier to cut. I know I talked about this before. Part of why I didn’t get basswood is because I could only find it in long strips and I wasn’t sure how to deal with that. If only I had known about the miter box before, I might have started with basswood.
However, I like the balsa wood strips because they’re already in small planks and even though I still have to cut some down to create the random pattern, I don’t have to cut them all down. With the basswood, I’d have to do a lot of cutting.
The second piece of advice that jumped out at me was to use a miter box to cut the balsa wood.
What Is a Miter Box?
I had to Google it. It’s a small set up for cutting one smallish piece of wood (a strip, not a large plank) when you don’t want to drag out your big saw. You use it to cut an edge (or mitered edge) using pre-defined, commonly used angles (90 degrees, 45 degrees, and so on).
I think calling it a “box” is a bit misleading, but I get it. It’s a box but with no top and the two short ends missing. The top is open so you can get your saw in there, and the sides are open so you can fit a long piece of wood into the box.
There are “professional” miter boxes — meaning, the kind you use on molding in your bedroom. And, there are craft miter boxes, for hobbyists (like me).
I happened upon one at JoAnn’s so, I figured I’d give it a shot.
How to Use a Miter Box
Here’s the miter box all packed up.

This is what’s included with the miter box set.

The saw is at the top of the photo. It reminds me of a butcher’s knife except, and you can’t see this, the blade has a ton of tiny teeth. I don’t know much about saws and saw teeth, but I’ll trust this is the way to go.
The black “pegs” on the right are the “clamps.” You take your wood and place it in the box, lining up one edge of the wood with one “side” of the box (usually the one that’s closest to you). To clamp the wood, you place the “clamps” in the holes closest to the edge of the wood. Then, you rotate them to secure the wood.
The bottom pegboard is the miter box. If you look closely, you’ll see there are some marks and grooves on the side of the box. Those are the saw guides. Not only is it where you stick the saw to hold it in place, it’s a set of predefined angels you can cut on, so you don’t have to figure it out yourself.
Fun fact! When I first set the miter box up, I had it upside down.

It’s supposed to go like this:

I figured that out after reading the instructions.
But not before, I almost used it upside down.
You think I would have noticed that the words are upside down. It’s in the darn picture. Also, there are no saw guides on this side! If that doesn’t make it obvious that I messed up, I don’t know what does!
But, I didn’t notice, and I have no idea why. My guess is that “upside down” makes the miter box lie flat on the table. When you flip it over, it does not lay flat, which confused me.
I placed a balsa wood strip in the miter box, fastened it with the clamp, and attempted to saw it. Of course, that’s when I realized there are no saw guides, so I actually read the instructions. Once I read the instructions, it all made sense.
The miter box is supposed to go like this:

And here’s why.
The edge on the right is supposed to overhang a table. I don’t know why. Maybe to give it more stability? I’m not sure. It looks like this when you set it up.
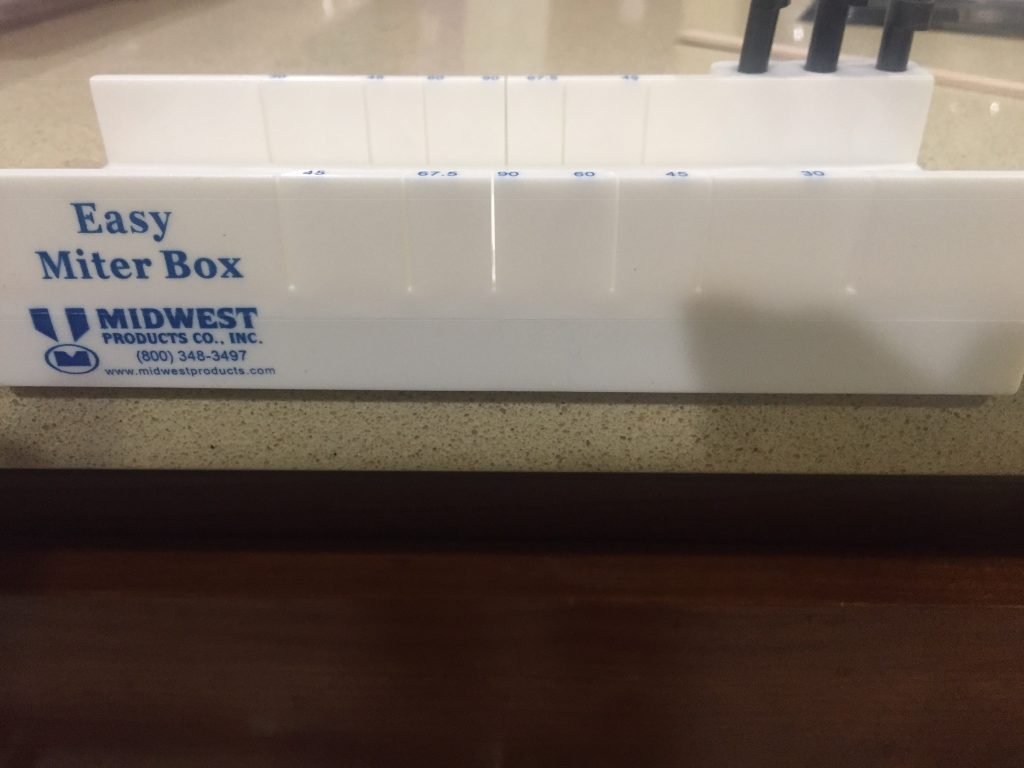
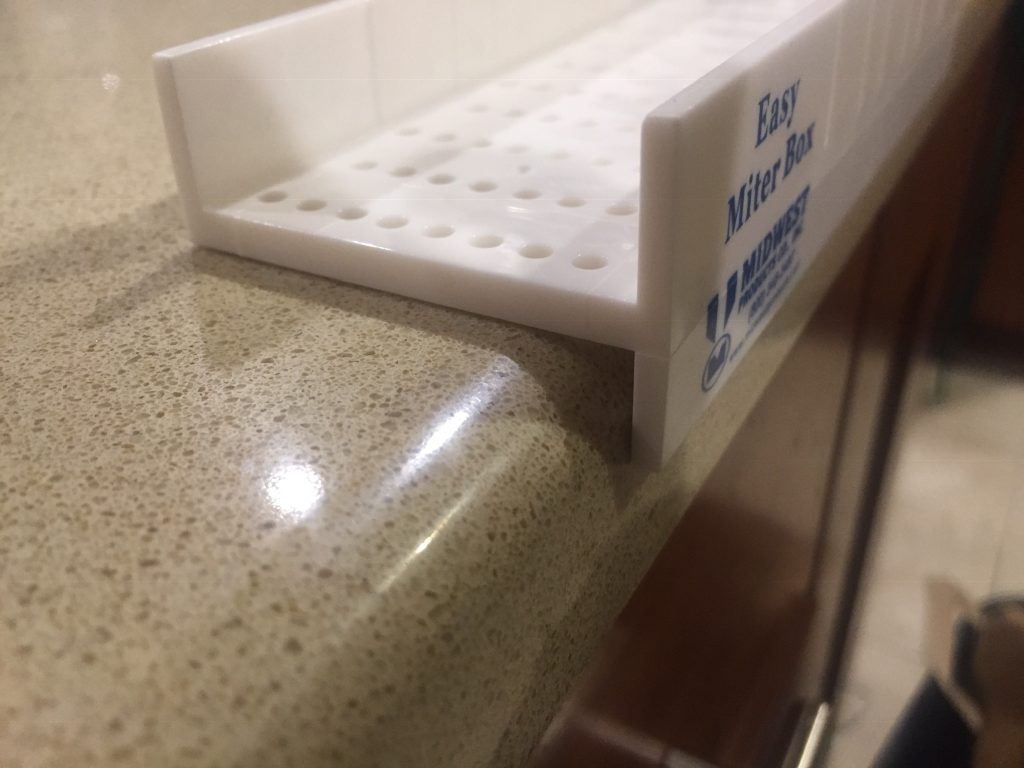
Ah. Ok. That makes way more sense. The words are right side up, and the saw guides are visible.
Much better.
Cutting the Wood in the Miter Box
Like I said, the miter box has a bunch of pre-defined angles. I assume those are the most common ones woodcutters and hobbyists use. As a newbie, I’ve got no clue. The only ones I’m familiar with are 90 degrees and 45 degrees. And, to be honest, the only reason I know about the 45 degrees is because of my research.
Following the instructions, I put a balsa wood strip in the box then clamped it. It’s hard to tell in the picture, but there’s a slight gap between the clamp and the wood. It’s not really “anchored.” But I figured once I get to sawing, it will be fine.
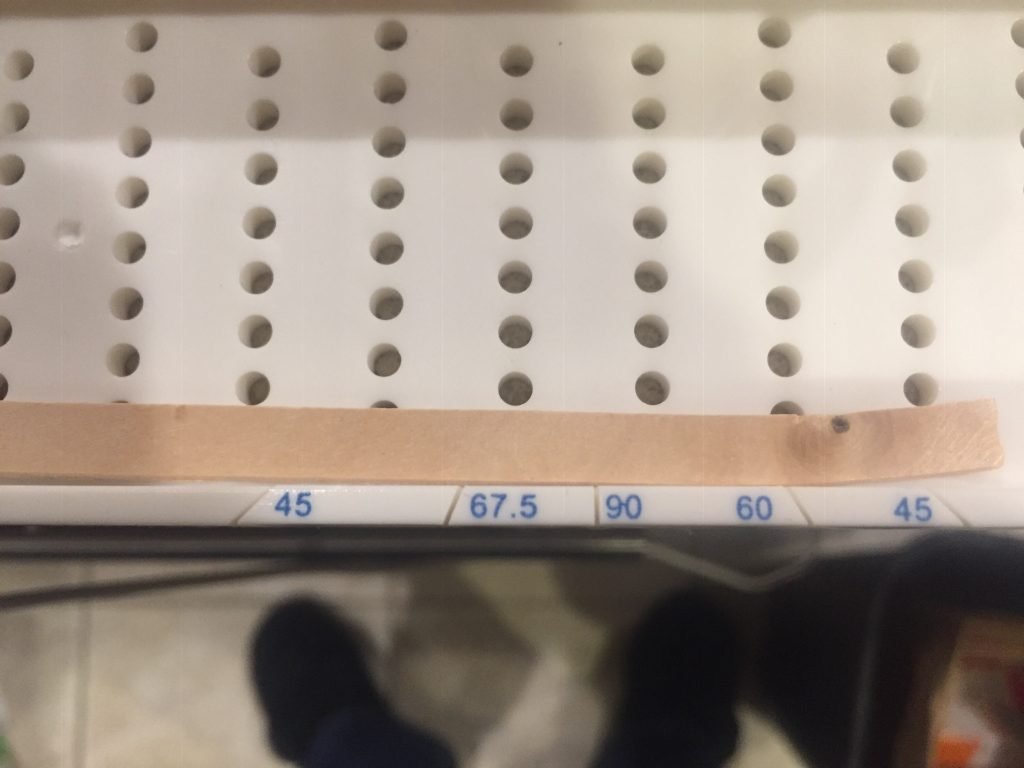
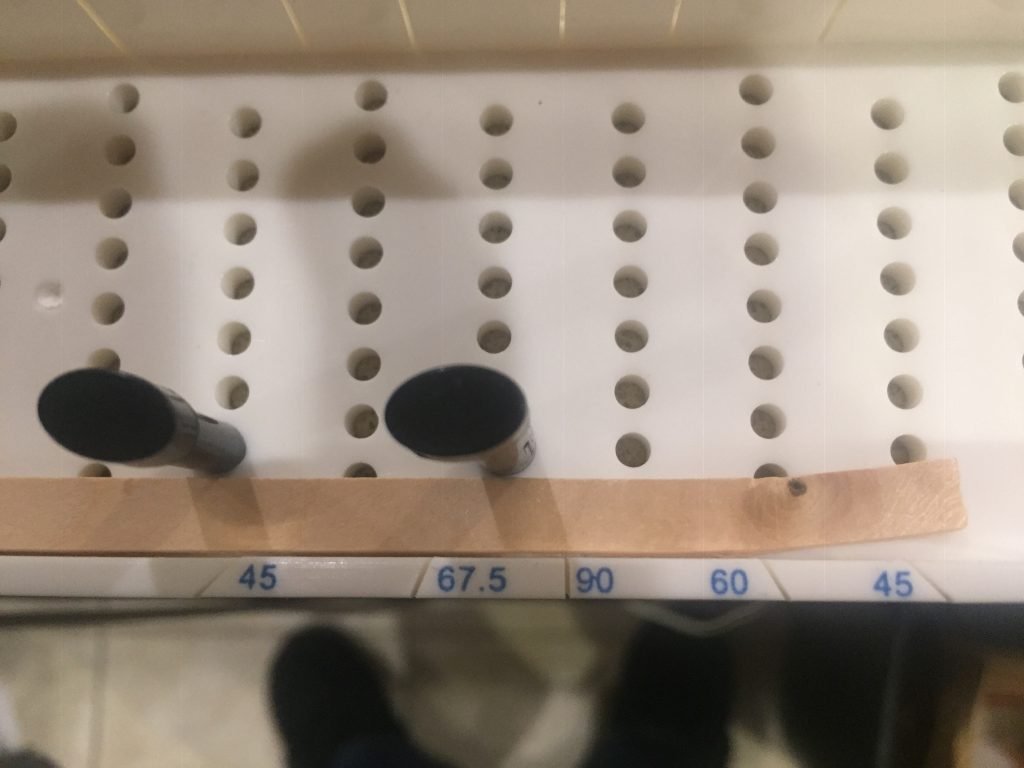
The problem with this anchoring system is that, first, the pegs are only so round. There’s no way to adjust their size to make them bigger or smaller. Second, the holes are at predefined spots on the box. As you can see, there are lots of options, but that doesn’t make them limitless. If the wood, holes, and clamps don’t line up perfectly, I’m stuck with a bit of a gap and the wood slides unless I hold it down with my hand. Which defeats the whole purpose of the miter box.
I line up the saw for a 90-degree cut (because I’m just learning and that “looks” easiest), but then I stop. There’s no way I’m sawing right onto my counter. I’ll scratch the heck out of the counter. Or, worse.

So, I grab one of these.

Yup. I’ve been around long enough to have one of these lying around.
I have no idea why I kept it. Kinda glad I did, though.
Then, I set the miter box on the phone book like this:

Resetting the Wood
I started sawing. But with the balsa wood strip flat in the miter box, it felt like I wasn’t making any progress because the wood is so thin. So, I flipped the wood on its side and clamped it that way.
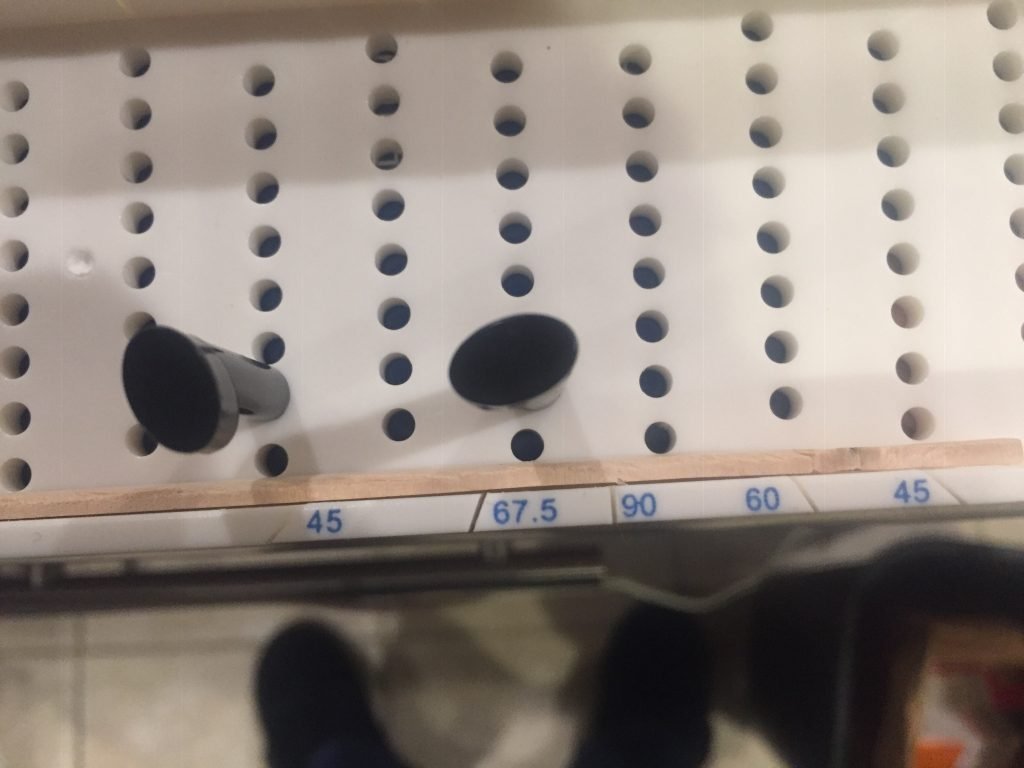
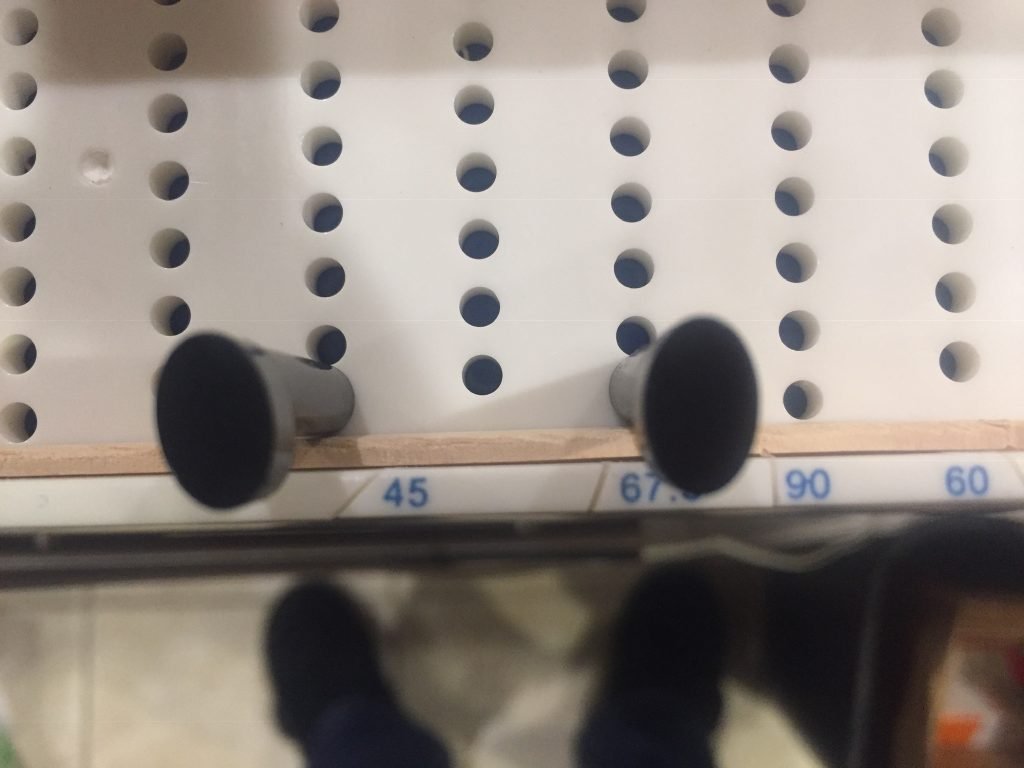
The edge of the wood is much closer to the top of the miter box now, so I feel confident that I’ll have no problems sawing the wood. Also, it looks like the wood is better “clamped” now compared to when it was flat in the box. That strikes me as odd, but it is what it is.
Attempt One
So, before I talk about what happened with the wood, let me show you what happened to the miter box.

Yeah. I sawed through it.
Oops. Newbie mistake.
I’m 99% certain that’s my fault. I was holding the saw at an angle. I had the back part (the handle in my hand) up, and the part that sawed through the box down. Hence, a damaged box.
I’ve got two theories on why this happened.
First, I probably felt like I had to angle the saw that way to saw through the wood. Kind of like the table was maybe too high, so I instinctively brought my arm up to get leverage. Or, something like that. I don’t know. I haven’t had sawing lessons (is that even a thing?).
Second, even though it looked like the wood was clamped in place, it wasn’t. I still had to hold the balsa wood down pretty hard with my finger. It was not easy. So, I’m thinking I was pressing on the saw in a weird manner to compensate for the holding.
Here’s what the balsa wood looked like when I was done sawing. Sorry the picture is a bit blurry.

As you can see, I’ve got a solid cut going there. But I didn’t get all the way through the wood. I suspect it’s because of how I held the saw. Meaning, because the saw wasn’t flat, I didn’t saw down as far as I could have. In any event, I’ve got to finish cutting through the wood.
About Face
I flip the wood over, so the uncut side is up and reclamp it in the box, lining it up with the same 90-degree mark.

Then, I saw away. But that didn’t end well.

Yeah. Another splintered edge.
Maybe I Should Listen
At this point, I figure I should try 45 degrees. I mean, that’s what I was supposed to start with anyway. So, I try sawing the balsa wood at a 45-degree angle.

And this is what I end up with.

It’s a good thing I never took shop class. I would have failed.
Now What?
The miter box has not worked. Or I haven’t used it right. To be honest, the instructions for this set show people using bigger pieces of wood, so maybe it’s not the fact that it’s balsa wood that’s the problem. It might be the fact that it’s small wood strips more than anything else. Meaning that even if I used basswood, I might get the same results.
But the fine-toothed saw has given me the best overall results so far. So, maybe there’s something there.
Following My Instincts
Part of the problem is clamping the wood in the miter box. I can’t get it a firm hold with the peg clamps. The wood is just to darn thin. Maybe the miter box is the problem.
Since I plan to cut at a 90-degree angle, I decide to skip the miter box and saw directly on the phone book on the flat side of the wood.
Here’s what happened to the phone book.

And here’s what happened with the wood.

Success! It’s hard to tell, but those are perfect edges. They need sanding, but they are perfect!
RELATED: Learn which sandpaper grit would be perfect for these balsa wood ends.
For fun, I sanded down some of the edges and lined them up so I could see how they looked. I went a little overboard on some of them, so they are a little rounded. But, this is just practice, so I don’t care.
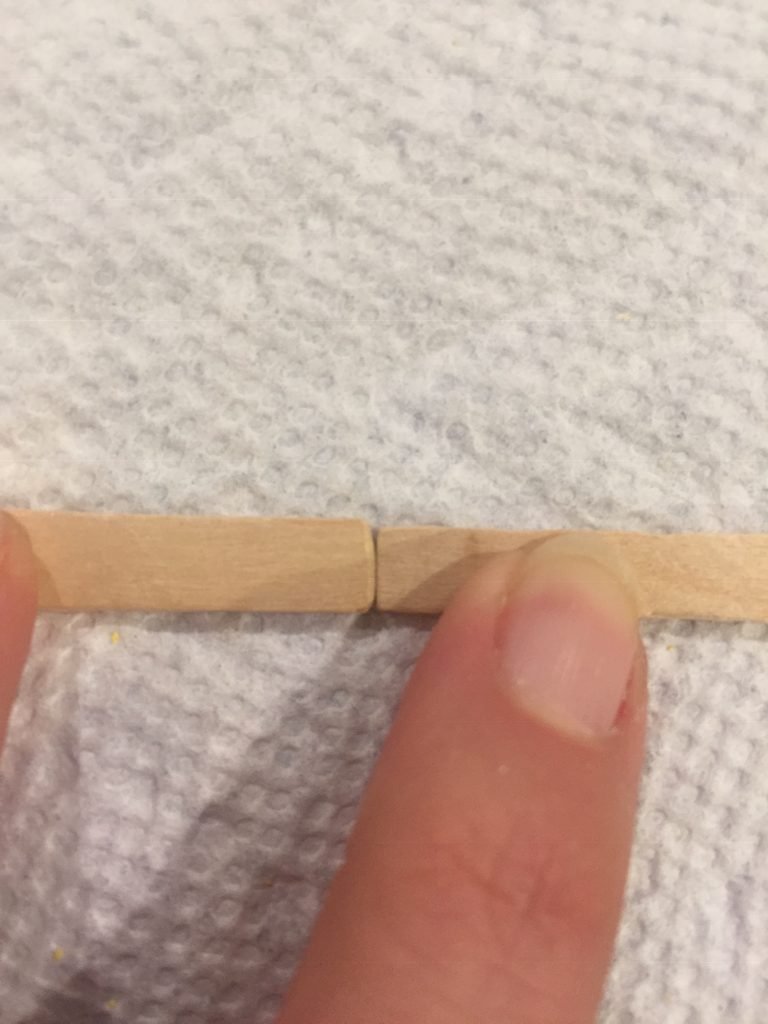
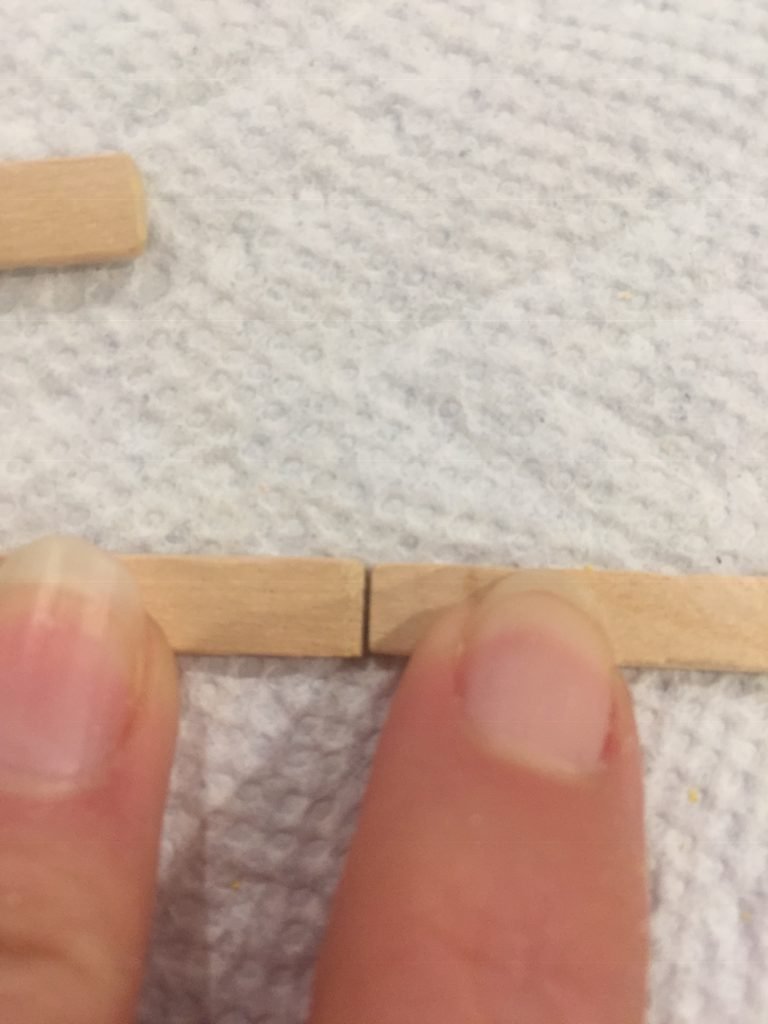
It seems that 90 degrees works, just maybe not in the miter box.
A Little of This and a Little of That
I reset the wood in the miter box. But, instead of lining it up inside the box on the saw guides, I hung it off the edge of the box and my table. My thought is that I’ll be able to saw straight through the wood in one clean pass. I won’t have to stop and flip the wood because I got to the bottom of the miter box.
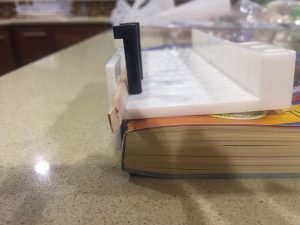
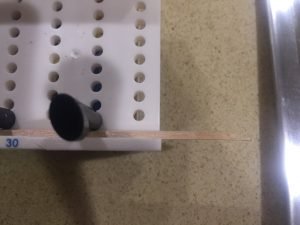
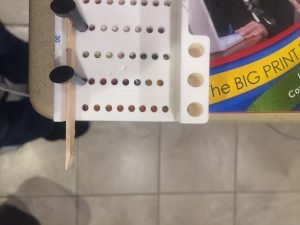
I start sawing. But the results still suck.

The problem is the wood still slides around in the miter box. I can’t clamp it any tighter, So, I decide to use this setup, but I’ll clamp the wood right to the phone book.
I try painters tape.

But, when I saw, the wood comes loose almost immediately.
I try this clip, but the second I saw, everything comes apart.

Then, I try this and it kind of works.
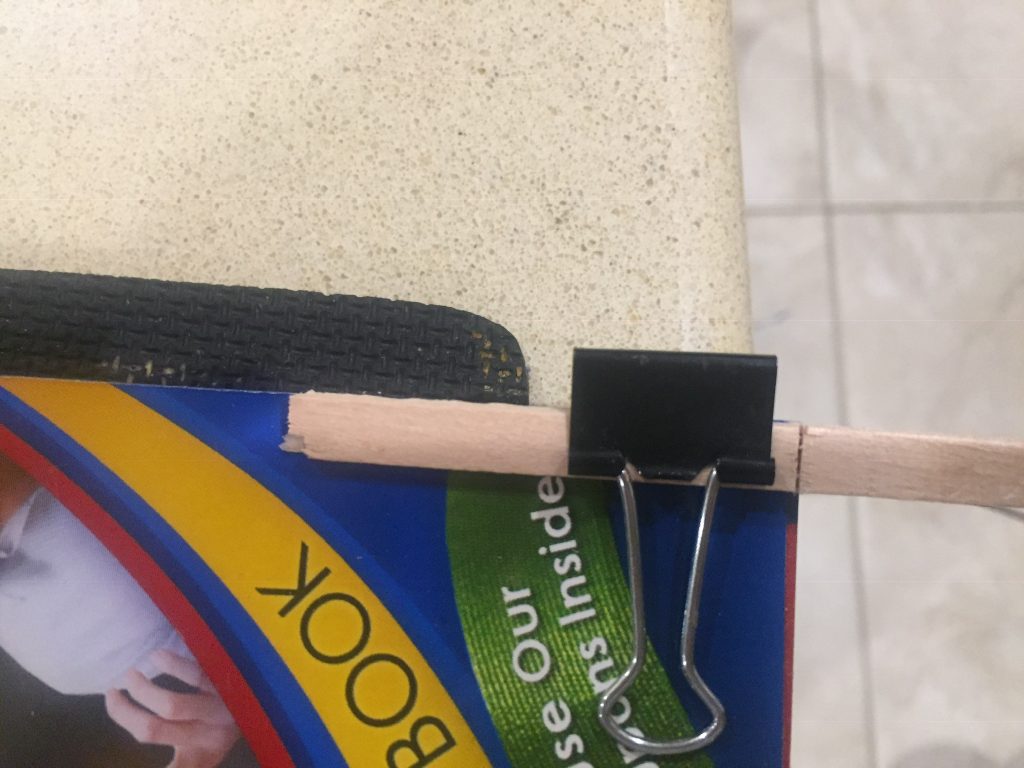
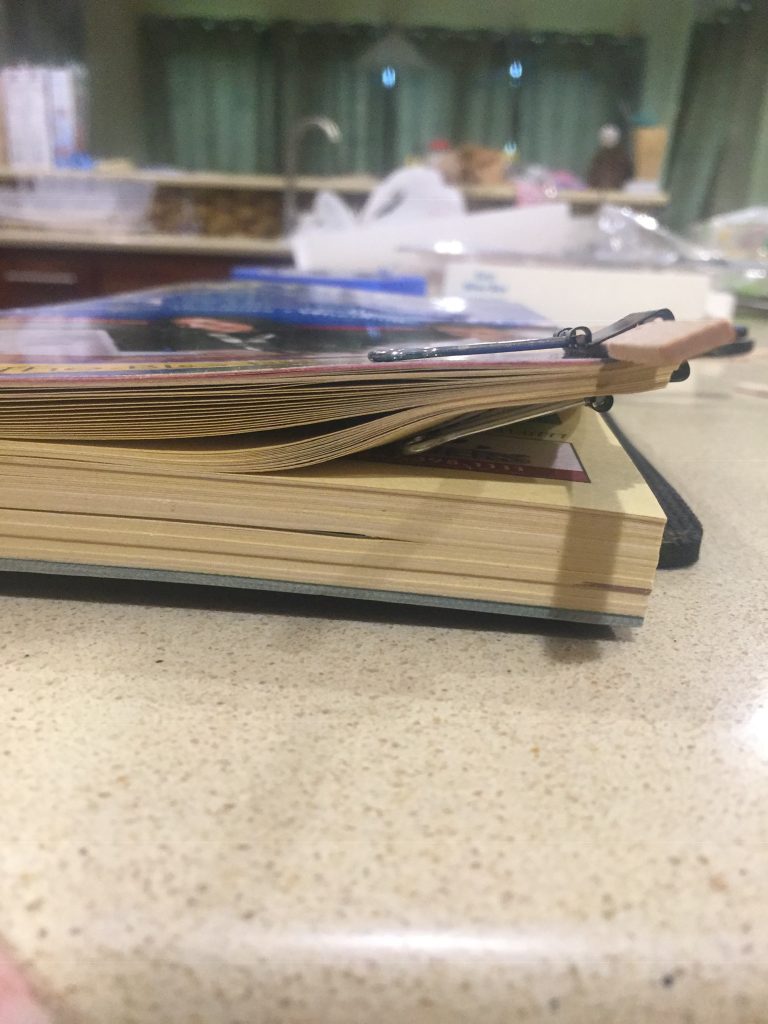
Here’s the wood. Perfect, right?

But that was really hard to cut. The whole thing was angled up (and not in a good way). And I still had to hold the wood down with my free hand. Which I can do, but the whole point of the miter box was to make it, so I don’t have to hold down the wood.
The idea is solid, but this still isn’t working.
Other Resources
Then I remember I’ve got scrap wood in the basement. Maybe I could cut the balsa directly on that.

I make a test run, and the balsa is still sliding everywhere, so I try painters tape as a clamp.

And that doesn’t work.
And this is about the time I quit for the day. Not because I was exasperated (I was) but because I was out of time.
Sudden Inspiration
Like I said, I was out of time, so I had to let this sit for a day.
Then I had to write this post. And as I was writing it, it occurred to me that the biggest problem (duh) is that the wood is too thin to get a good cut.
What if I stack the wood strips up?
Taller and Taller
I got out the miter box and set up the wood scraps (the bad pieces of balsa wood) in the box. Unfortunately, they’re too small for my experiment (I think). So, I decide to sacrifice four “good” strips.
I stack them up in the miter box (sorry. It’s blurry).

Then clamp them down.

I’m not going to lie. When I turned the clamps, it felt like a solid connection. Like the wood wouldn’t move. It felt so solid that I decided to start sawing.
That didn’t work. The wood slid everywhere, so I added painter’s tape.

It worked beautifully! Nothing moved.
I sawed through and check it out.

Perfect!
It didn’t get down to the next level of wood, so I reattached everything and sawed again.
When I got through the top piece, again, another perfect cut. But, much to my surprise, I had hit the second piece, too!
That’s the trick. Tall wood! (There’s no “clean” way to write that. Sorry.)
Breaks Are Good for Brains
As much as I love doing this (all day every day!), the reality is that I needed to sleep on it, think about it, then not think about it, to solve the problem. And I did. So, here are my tips for how to use a miter box (and not lose your mind!)
- Anchor, anchor, anchor! Use tape in addition to the anchors.
- Use thick wood. This doesn’t mean use a two by four. It means stack your skinny strips up so you can reach the wood with your saw higher in the box
- Hold your saw straight! Don’t angle it up or down. Always keep it level.
And that’s how you use a miter box. Or, at least, that’s how I use a miter box. Hopefully, it helps you out. If you’ve used one before, any additional advice? Any tricks I missed?


I very randomly came across this post on how to cut balsa wood. I am a total beginner and am so very grateful to read your very clear explanation of how to cut balsa wood. Your last post lead me to this miter box post. My project is a group of fences for 8″ plastic horses. I am using 2 sizes of wood that both need to simply be cut exactly the same. One piece for the stable uprights is 1/4″ sq. The store suggested I should buy a certain knife but they were sold out. (It is just an Exacto knife) I’m not in a hurry so I decided to research alternatives and am most curious about your miter box. It is brand new to me. I wanted to thank you for how carefully you commented, instructed and photographed your project. Happily, close to where I live, there is an old well-established Hobby Store and I am headed there right now. Nana will learn something new today.
Thanks!
Miter boxes were new to me, too, but I’ve found them very useful for precision cuts. My only advice is be careful when you saw. I’ve gone a little too far sometimes and added new cuts to the box!
Good luck!